 |
| Basquiat - Artist at work. |
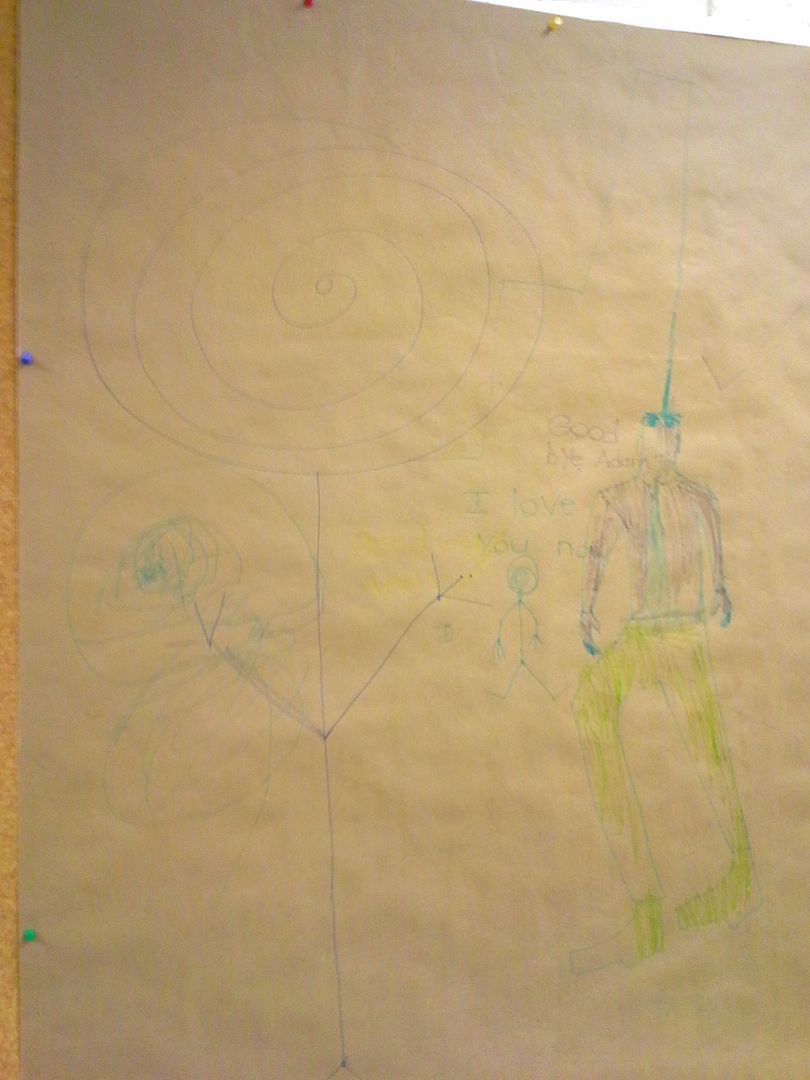
First thing I wanted to showcase is the new Basquiat Graffiti Wall!
This area is basically a segment of my bulletin board with a large sheet of paper that will be changed out every week or two.
This gives students in all of my classes an opportunity to get up out of their seats and work right on the walls in a collaborative and multilayered manner - similar to the self referential works of Basquiat or to the multilayered walls seen in contemporary graffiti culture.

Writing, painting, marker, collage - all are welcome. I started the page off with a big spiral and one of the class members went wild from there. It has quickly become one of his favorite activities.
I am hoping that the students in my other classes also contribute to the creations!

Aside from the Art wall we discussed that the art room can be a messy place and how making a mess was ok as long as we took care of our space and ourselves.
In addressing this we decided that aprons were a necessity for keeping our selves and our uniforms clean and for making us comfortable in this process. We then launched into making a set of personalized aprons for each of the students. I just picked up plain white aprons at a local restaurant/catering supply place for about $6 each and some Elmers Gel glue (the blue kind) at Michaels. A few sponges, tupperware, spray bottles and some acrylic paint were also needed - nothing too elaborate!
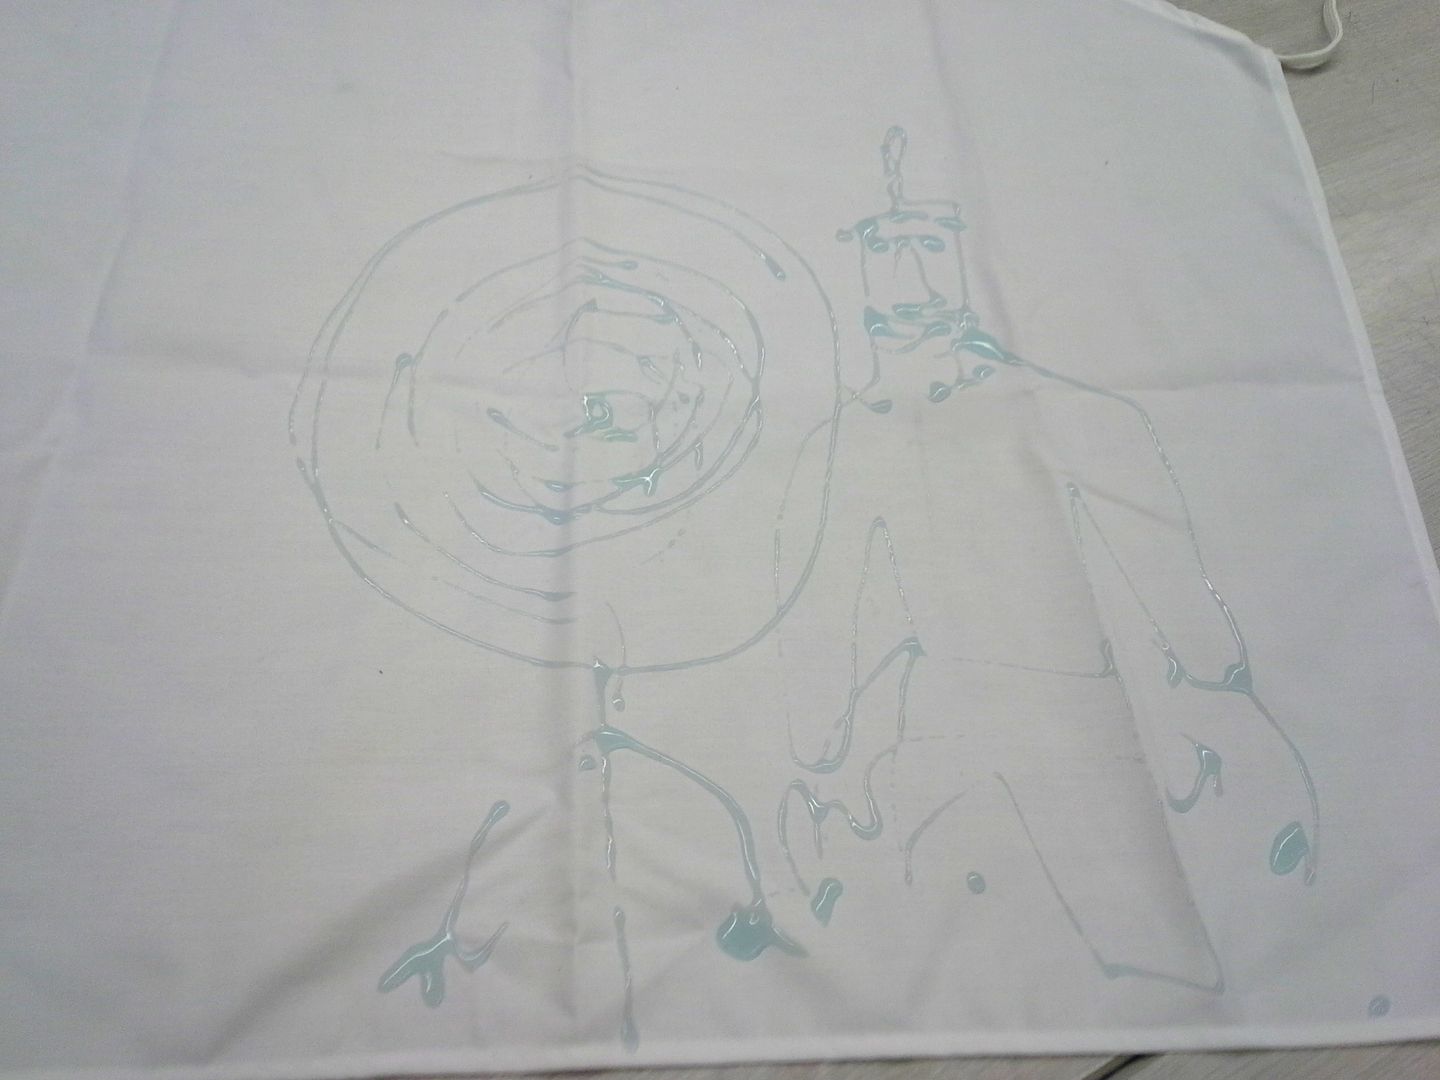
Here is what one of the students did with the Glue ---------------------------------------------->
You may notice that he has repeated the same drawing/imagery that he used on the art wall - including the spiral that I drew and he changed into a figure - neat stuff!
The Glue here is a type that is washable/water soluble even when dry. Therefore we could use it effectively as a resist for the paint - in much the same way wax would be used in a batik design - but without the hot wax/specialty tools! The next step was to let the glue designs dry fully overnight and use watered down acrylics to paint over the aprons and the designs.
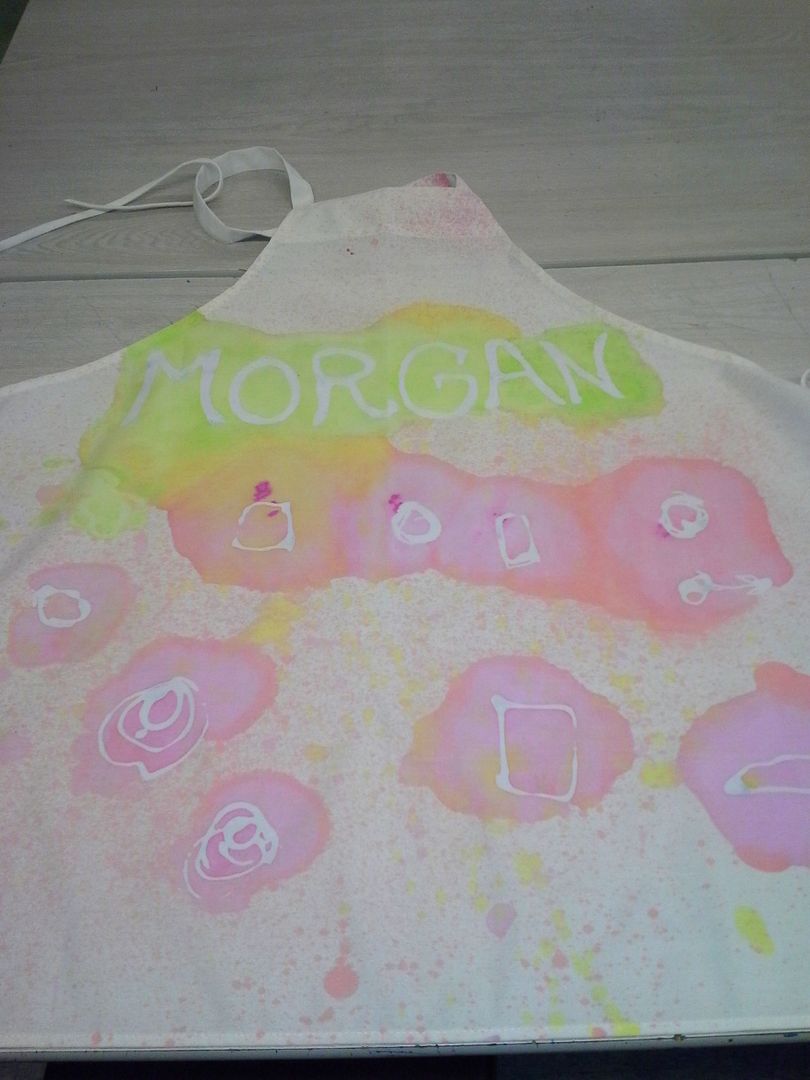 |
| After Washing |
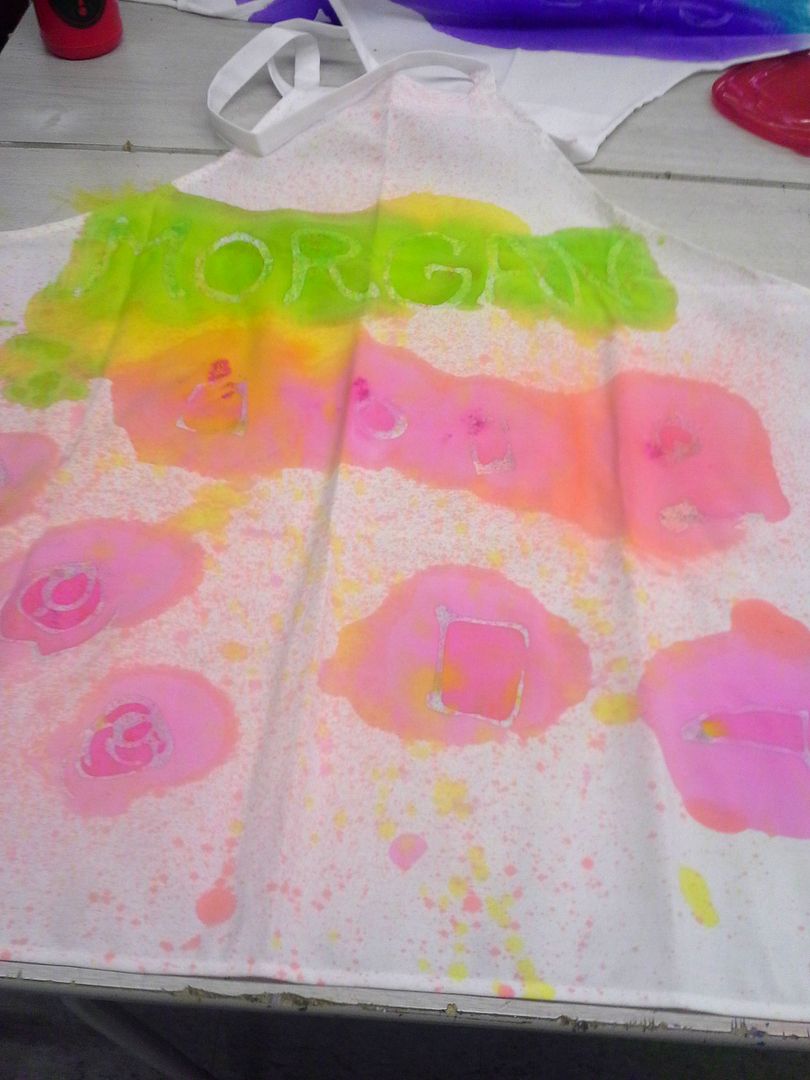 |
| Before washing |
These were then also hung to dry overnight and then laundered. The washing removed all the blue glue layer and left those marks as bright white lines in the paint. I was a little surprised by how much the colour of the acrylics mellowed - next time I will try a different brand of Acrylics to see if there is a discernible difference. Here is Adam's piece that you saw the earlier stages of above!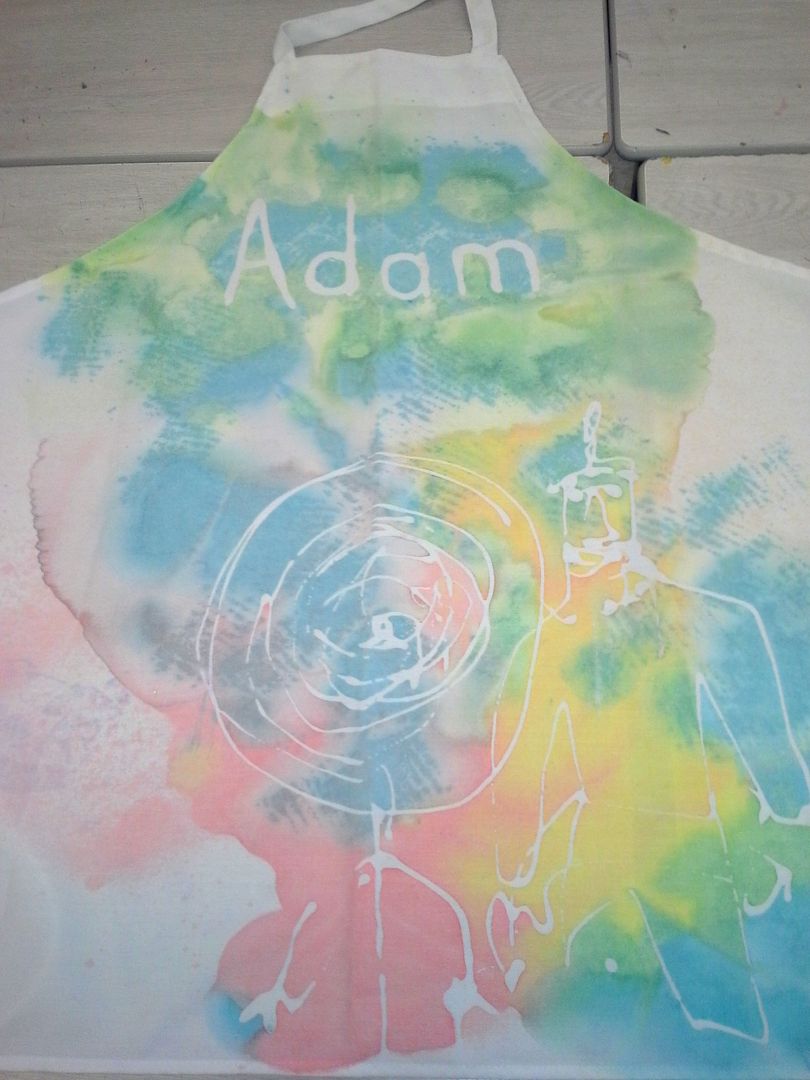
Super fun and practical way to start a course and to start getting to know the kids - while giving them something they can take pride in wearing daily in this room!
No comments:
Post a Comment