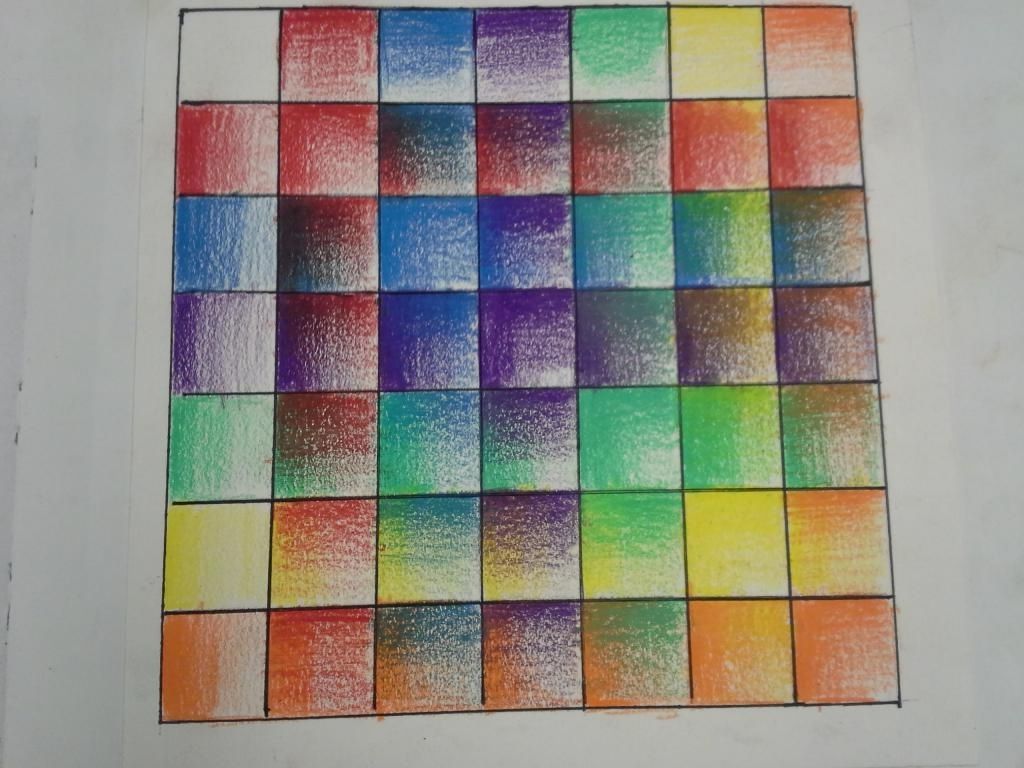
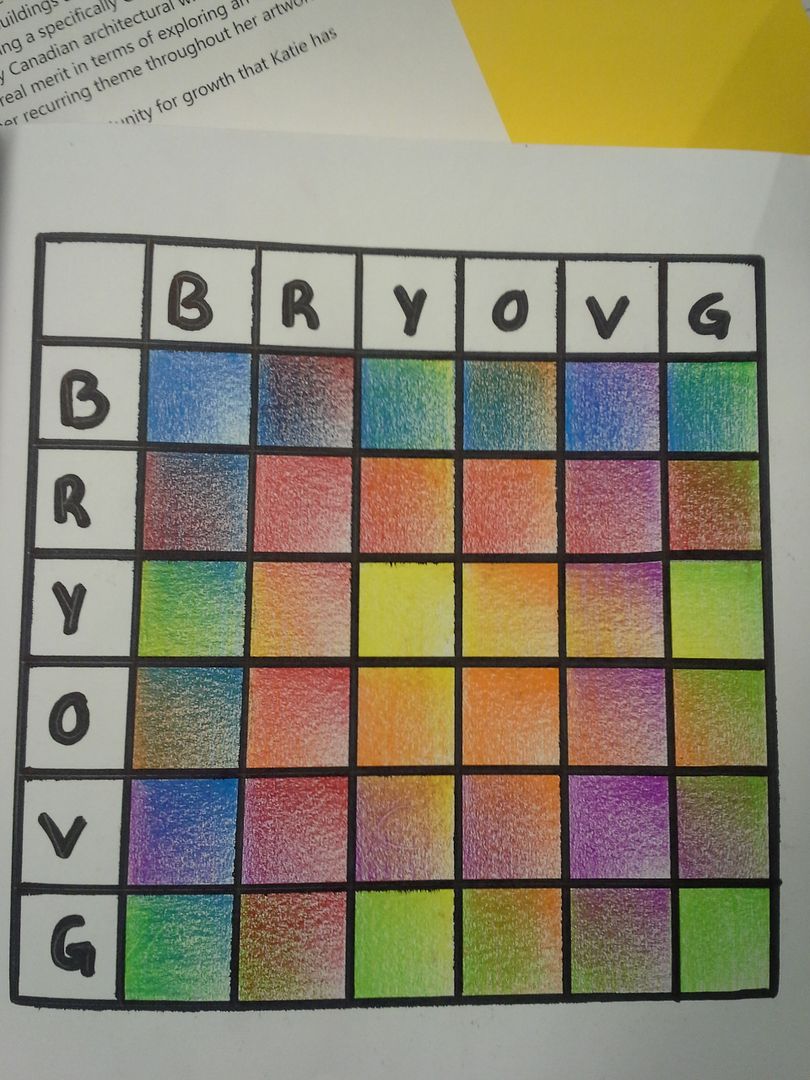
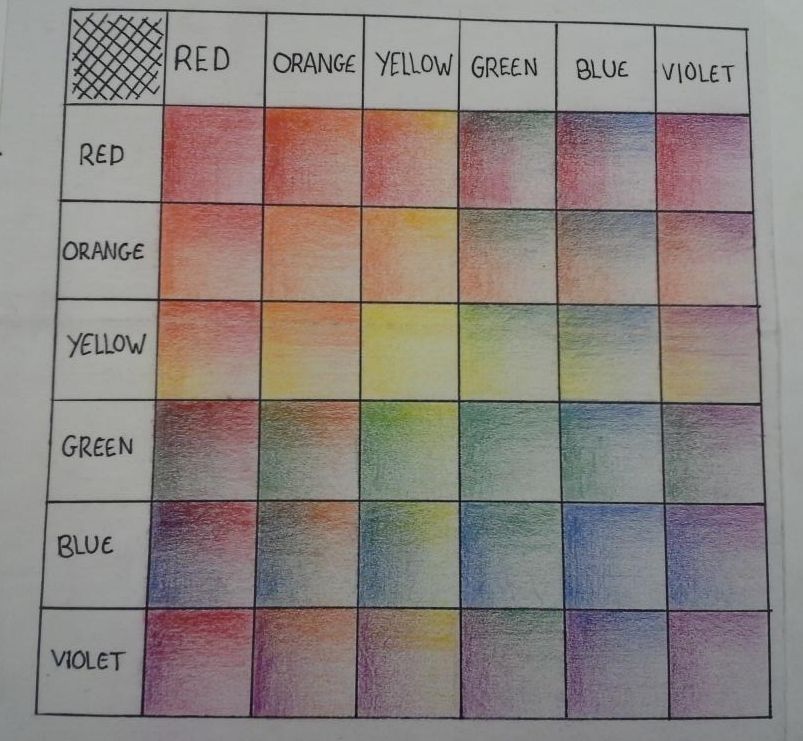
This project will give you the maximum variations of colour overlay mixtures available in your pencil crayon set and to really learn the abilities and limitations of your specific tool set. This is the key opportunity for you to train your muscle memory by practice proper technique until it becomes second nature. If you find that you have individual boxes that are not to the same level of quality as others - do NOT scrap things and start again! See Mr. Craig for a helpful tip on making adjustments instead! (Remember that whole "I am here to help" speech?) On the other hand, I will also remind you of the resubmission policy should you feel the need to redo this at a later date (after you have become more practiced some students realise they could redo this in a fraction of the time with a great deal more skill). Do not be surprised if your grid looks different than those of your peers. This is an art - not a science - and people will have different results based on factors such as the amount of pressure they use, the number of layers they need to create their gradation, the brand of pencil crayon they have, even little things like how sharp they keep their pencils! As long as you are creating smooth gradients and proper layers you will do just great!
The colour blending chart is completed in 3 steps:
Step#1 - Create a Grid of 7x7 squares. Squares should be 2cm/1inch each. Measure your sketchbook page in advance to make sure it fits properly. USE A RULER!!!! The first row and column should include matching labels for the 3 primary and 3 secondary colours (ROYGBV). The top left hand corner is blank. I will be looking for even measurements and attention to accuracy.
Step#2 - COMPLETE ALL ROWS FIRST!!!. Using colour overlay, you will create smooth gradients of colour from left to right in each box. The colours will correspond to the row labels. (a row of red gradients, a row of orange gradients, etc.). This is an enormous amount of work and you may find it quite difficult to maintain consistency between boxes and rows - but this is your goal. I will be looking for consistency, proper overlay technique, consistency, smooth gradations and... did I mention consistency? (NOTE: For the reasons we will discuss in class you will be given a greater deal of latitude with Yellow gradations. Do not stress if you feel that this line is not on par with the others.)
Step #3 - Once you have completed ALL the rows, you will repeat the same techniques for gradation and colour overlay following the columns overtop of your finished rows. Gradients will this time be created from top to bottom. I will be looking for the same accuracy of technique, consistency and smooth gradations as step two. Don't get sloppy/lazy now!!!! Push through to the end and find the success you deserve!
EXAMPLES OF FINISHED GRIDS


No comments:
Post a Comment